AI
How to prepare images before sending them to an AI
Resize, convert and clean your image on your own device before uploading it to a vision model like GPT-4o or Claude — faster processing, and you control exactly what you share.
Last updated August 1, 2026
Why prep an image at all
When you drop a photo into a vision model — GPT-4o, Claude, Gemini and the like — the raw file often carries more than the model needs and more than you may want to share. A little local cleanup before you upload makes the exchange faster and keeps you in control of what leaves your device.
What “prepared” means depends on where the image is headed: a chat model you’re asking to read or describe the picture, an image generator using it as a reference or img2img input, or a reference set you’re assembling for later. The baseline is the same three steps every time — right-size it, put it in a standard format, and strip the private metadata — with a couple of extra steps that matter for specific destinations. All of it can happen in your browser, before anything is sent anywhere.
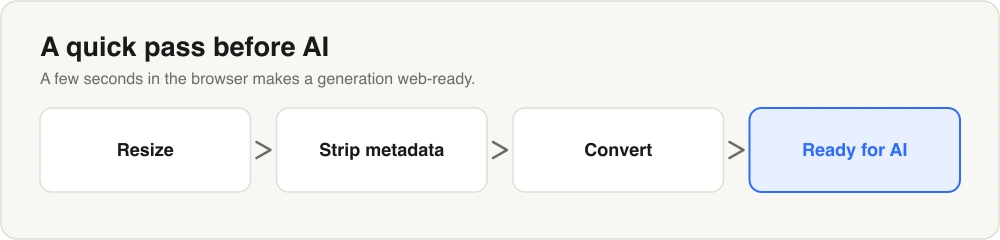
Three quick steps, all in the browser, before your image goes to a vision model.
Right-size it
Most vision models downscale very large images internally, so a 6000-pixel photo straight from a phone or camera rarely helps — it just makes the upload slower, and on some pay-as-you-go APIs a larger image can cost more to process. Resizing the long edge down to something in the 1024–2048 pixel range usually keeps all the detail a model can actually use while making the file far lighter.
If the model only needs to read text or identify an object, you can go smaller still. Different tools treat oversized images differently, but almost all of them shrink the picture before the model ever sees the pixels — so an enormous file mostly buys you a slower upload:
| Destination | What it does with a large image | Sensible long edge |
|---|---|---|
| ChatGPT / GPT-4o | Caps the long side near 2048 px, then reads it in 512 px tiles | 1024–2048 px |
| Claude | Scales anything over ~1568 px on the long edge down before processing | up to 1568 px |
| Gemini | Tiles large images and samples each tile at modest resolution | 1024–1536 px |
| Image generators (SDXL and similar) | Work at a fixed native size and crop or pad to reach it | match the model (often 1024 px) |
Exact numbers shift as the tools update, but the pattern — they downscale, so you might as well — does not.
Keep the aspect ratio sensible
For a chat model the aspect ratio isn’t strict, but an extreme one hurts: a very tall screenshot gets squeezed to fit the tile grid, and small text turns to mush. Split a long screenshot into a few readable pieces rather than sending one narrow strip. For an image generator the aspect ratio is stricter — most diffusion models expect dimensions that are multiples of 8 or 64 and are trained around a native size (1024×1024 for SDXL). Feed an odd shape and the tool crops or pads it, which can lop off part of your subject. Set the dimension deliberately on Resize, or crop to the shape you want, rather than leaving it to the model.
Put it in a standard format
Vision models are happiest with ordinary JPG, PNG or WebP. If your image is in a less common format, convert it first so the upload isn’t rejected or silently mishandled. iPhone photos saved as HEIC are a frequent culprit — many AI tools won’t accept the format at all, so convert those to JPG or PNG before anything else. Converting to JPG or WebP also shrinks a large photo, which speeds up the upload.
Clean up the subject
When the image is a reference — a product you want a generator to reproduce, or an object for a training set — what surrounds the subject can mislead the model as much as help it. A busy background pulls a generator toward the wrong details and adds noise to a dataset where you want the object isolated. Removing the background first hands the model a clean subject on transparency to work from. For a chat model this matters less, but cropping tight to the thing you’re actually asking about still earns you a sharper, less hedged answer.
Watch the file-size limit
Every upload has a ceiling — ChatGPT accepts images up to around 20 MB, while Claude and Gemini sit at a few megabytes each — and hitting it means a failed or silently rejected upload. Resizing usually gets you under the limit on its own, but a high-resolution PNG can stay stubbornly large. When it does, compress it: switching to WebP, or nudging JPG quality down a notch, can cut the file by more than half with no visible difference at the size a model reads. Resize first, then compress the smaller result for the lightest possible file.
Strip the private metadata
This is the step people forget. Photos from a phone or camera embed EXIF metadata — the device model, the exact time, camera settings, and often GPS coordinates of where the picture was taken. When you upload that image to a third-party AI service, all of it goes along for the ride.
Removing the metadata first means you share the picture without quietly sharing where you were or what device you used. Ruah does this losslessly — it strips the metadata without re-compressing the image, so the pixels are untouched.
Why do it locally
The whole point is control. If you clean an image up using another online service, you’ve already uploaded the original — GPS tags and all — to get the “cleaned” version back. Doing it on your own device means the only thing that ever reaches the AI is the trimmed, resized, metadata-free image you chose to send.
A quick checklist
- Resize the long edge to 1024–2048 px — smaller for a simple task, matched to the model if it’s a generator.
- Convert to JPG, PNG or WebP, and convert HEIC before anything else.
- Check the aspect ratio so nothing important gets cropped or squashed.
- Remove the background when the image is a reference or a dataset subject.
- Compress if you’re anywhere near the tool’s upload limit.
- Strip metadata to drop GPS and device details.
- Then upload — knowing exactly what you handed over.