Editing
How to crop and rotate images online
Trim, straighten, and reframe a photo right in your browser, then export it as WebP, JPG, or PNG at the quality you want. Nothing gets uploaded.
Last updated July 23, 2026
The quick version
Open one image in the crop and rotate editor, drag a box over the part you want to keep, turn or flip it if the orientation is off, then export. It handles a single image at a time, and every step runs on your device — the file is never uploaded, and there’s no account to make.
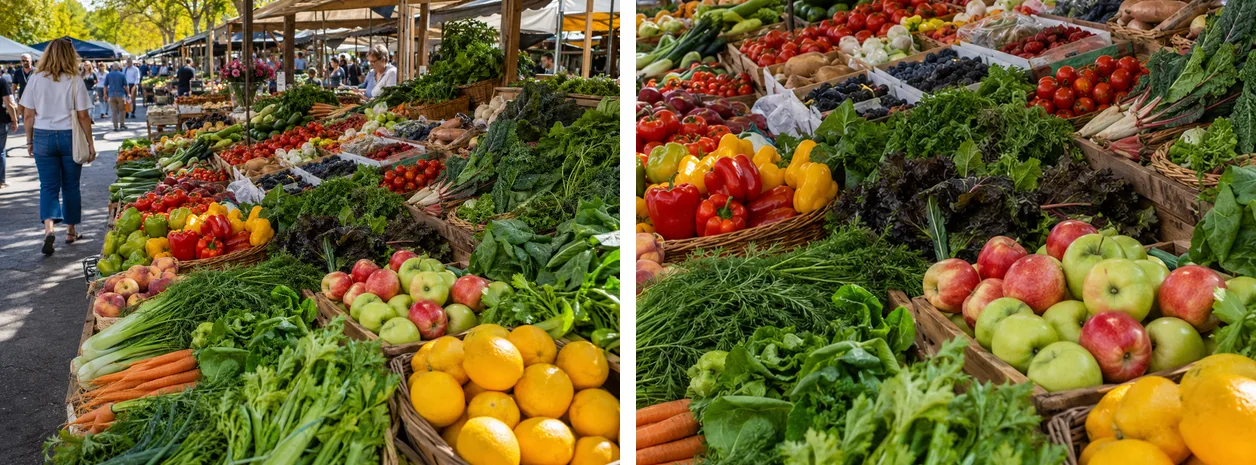
Left: the full frame. Right: the same photo cropped to focus on the subject and drop the clutter around the edges.
Crop to a free shape or a locked ratio
Cropping does two jobs at once: it removes clutter around the edges and it decides the proportions of the final image. The editor gives you a draggable crop box with a few presets so you don’t have to eyeball the math:
- Free — drag any rectangle you like. Best when the destination doesn’t care about proportions.
- Original — keep the source photo’s exact aspect ratio while you trim the edges.
- 1:1 (square) — profile pictures, avatars, and product tiles. Most storefronts and social avatars expect a square, and cropping to 1:1 yourself beats letting a site auto-crop and cut off the wrong part.
- 4:3 and 3:2 — the classic photo ratios. 3:2 matches most camera sensors and standard prints (4x6), while 4:3 suits many screens and 8x10-ish layouts.
- 16:9 — video frames, YouTube thumbnails, and website headers or hero banners.
Pick the ratio first, then position the box. Locking the ratio means the crop stays the right shape no matter how you resize the selection, so nothing gets stretched later.
Rotate in 90 degree steps and flip
Two things go wrong with orientation, and each has its own fix.
- A photo imported sideways. Phones and cameras sometimes save an image rotated the wrong way. Tap rotate 90 degrees until it sits upright — a couple of taps covers every case.
- The subject faces the wrong direction, or you want a mirror. Flip horizontally to mirror left-to-right, or flip vertically to mirror top-to-bottom.
Rotation here works in 90 degree steps, which is exactly what you need for a photo that’s on its side. It won’t nudge a picture by two or three degrees to level a crooked horizon; for a slight tilt, the practical move is to crop in a little so the off-level edges fall outside the frame.
What people actually use it for
- Making a square thumbnail. Set 1:1, center the box on the subject, export. Done in seconds.
- Framing a subject. Crop away dead space so the eye lands where you want it — a tighter crop usually reads stronger than the original wide shot.
- Fixing orientation before you post. Rotate a sideways photo upright so it doesn’t show up turned on its side.
- Cutting a banner from a bigger picture. Use 16:9 to pull a header strip out of a tall image.
It’s a single-image editor, in the browser
This tool is built for careful work on one image, not a bulk run. You get a live preview of the crop box and the rotation as you go, so you can see the exact result before you commit. Because it all happens locally, private or sensitive photos never leave your machine.
One limitation to know up front: HEIC files aren’t supported. If your photo is a HEIC straight off an iPhone, convert it to JPG or PNG first with the converter, then bring it into the crop editor.
Choose the format and quality on export
When you export, you pick the output format and, for the lossy formats, a quality level:
- WebP — the smallest file at a given quality. A good default for anything going on the web.
- JPG — the safe, universal choice for photos when you need maximum compatibility.
- PNG — use it when you need lossless output or transparency.
For WebP and JPG, the quality control lets you trade size against fidelity. Somewhere in the 80–90 range usually looks identical to the original while cutting the file down a lot; drop lower only if size matters more than fine detail.
Next steps
Cropping changes the shape, not the pixel dimensions you might need for a specific slot. If you have a target width or height in mind, send the result to the resize tool afterward. And if the export is still heavier than you’d like, run it through the compressor — or read how to compress images without losing quality — to shrink it further without a visible drop.
Try it now — Crop & rotate in your browser, nothing uploaded.