Compression
How to reduce image file size (without wrecking quality)
A big image has three things you can shrink — its dimensions, its compression, and its format. Pull the right lever and the file gets much smaller while still looking the same.
Last updated July 23, 2026
Why file size is worth your time
A heavy image is a tax you pay over and over. It slows your page load, so visitors leave before they see anything. It bumps into upload limits on forms and marketplaces. It blows past email attachment caps (most cap out around 25 MB). And it quietly eats storage you’re paying for. A 5 MB photo straight off a phone can almost always become a 400 KB file that looks identical — the only thing you lose is the waste.
There are exactly three levers. Most people reach for one and stop; the real wins come from knowing which one your image actually needs.
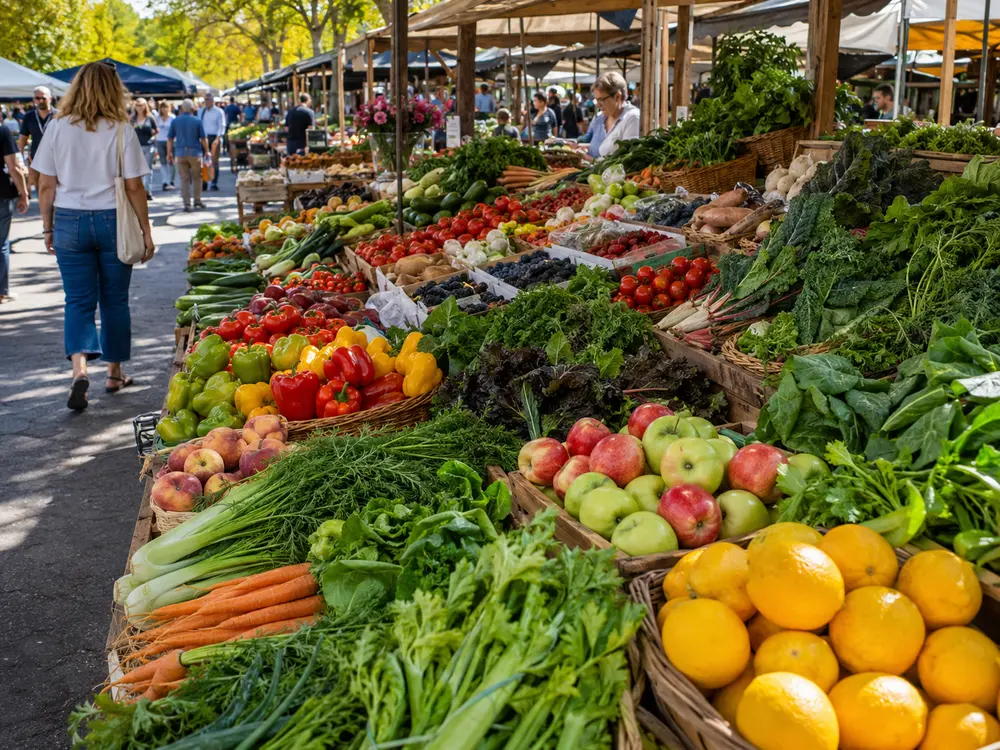
The same 1448×1086 photo, saved five ways. Every number below is the real encoded file — measured, not staged.
| Format | File size | Saved |
|---|---|---|
| PNG (original export) | 2.77 MB | — |
| PNG, optimized (lossless) | 808 KB | 72% |
| JPEG (quality 80) | 313 KB | 89% |
| WebP (quality 80) | 297 KB | 90% |
| AVIF (quality 50) | 145 KB | 95% |
Same pixels, same visible quality — the file drops from 2.77 MB to under 300 KB just by switching to a modern format, and to 145 KB with AVIF. That is the whole point of the three levers below.
Lever 1: Resize the dimensions
This is the one people skip, and it’s usually the biggest. A modern phone shoots photos at 4000+ pixels wide. A blog post displays them at maybe 1200 pixels. You’re shipping four times the pixels anyone will ever see, and pixel count drives file size more than anything else.
- For the web, 1600–2000 px on the long edge is plenty for full-width images; 800–1200 for in-article shots.
- For email or chat, 1200 px is generous.
- For thumbnails or avatars, resize to the exact display size.
Halving both width and height cuts the pixel count to a quarter. That alone often does more than any compression setting. → Resize handles this by pixels or by percentage, and can do a whole folder at once.
Lever 2: Compress
Once the dimensions are right, compression removes redundancy from what’s left. Two flavors, and the difference matters:
| Type | What it does | Size drop | Looks the same? |
|---|---|---|---|
| Lossy (default) | Drops detail your eye can’t detect | Large | Identical to your eye |
| Lossless | Repacks the same pixels more tightly | Small to moderate | Pixel-for-pixel identical |
For photos and rich images, lossy is what you want — it’s tuned to fall below what human vision picks up, so you get a 60–80% drop with no visible change. Reach for lossless only when exact pixels matter: a logo, a screenshot with text, or a file you’ll edit again. → Compress applies smart lossy compression by default and gives you a Lossless toggle for those cases. If you want the full picture on that trade-off, see compress without losing quality.
Lever 3: Convert to a modern format
The format itself decides how efficiently those pixels are stored. Old JPEG and PNG carry a lot of overhead that newer formats simply don’t.
- WebP is the safe default — roughly 25–35% smaller than JPEG and supported basically everywhere.
- AVIF goes further, often 40–55% smaller than JPEG, when your audience is on current browsers.
Switching a photo from JPEG to WebP is one of the easiest wins available. → Convert does it, and WebP vs AVIF covers which to pick.
A simple decision workflow
You don’t need all three levers every time. Match the image to the job:
- Photograph? Resize the dimensions first, then convert to WebP (or AVIF). That combination usually gets you from megabytes to well under 500 KB.
- Screenshot or detailed artwork? Resize if it’s oversized, then compress with the default lossy mode.
- Logo, icon, or flat graphic? Leave the dimensions, and either compress losslessly or keep it as a PNG — these are already small and lose nothing.
The order matters: resize before you compress. Shrinking dimensions first means the compressor has less to work on, so both steps compound instead of fighting each other.
Doing a whole batch
If you’ve got a folder of images, do them together rather than one at a time. Resize and Compress both take a batch and process every file with the same settings, which keeps a gallery or a product catalog consistent. A good routine: resize the whole set to your target width, then run them through Compress or Convert in one pass.
It all runs on your device
Every one of these steps happens in your browser using WebAssembly — nothing is uploaded. There’s no account, no server queue, and your images never leave your machine, which matters when you’re handling client work, personal photos, or anything with location data baked in. (On that last point: resizing and re-encoding usually strips EXIF anyway, but you can guarantee it by stripping the EXIF data.)
Start with whichever lever fits the image in front of you. For most photos, resize plus a WebP conversion is the whole job — and you’ll wonder why the file was ever that big.
Try it now — Compress in your browser, nothing uploaded.